May 5, 2024 by CodeFlowerHorn
Creating an API with C# ASP.NET Core Web API in Visual Studio Code
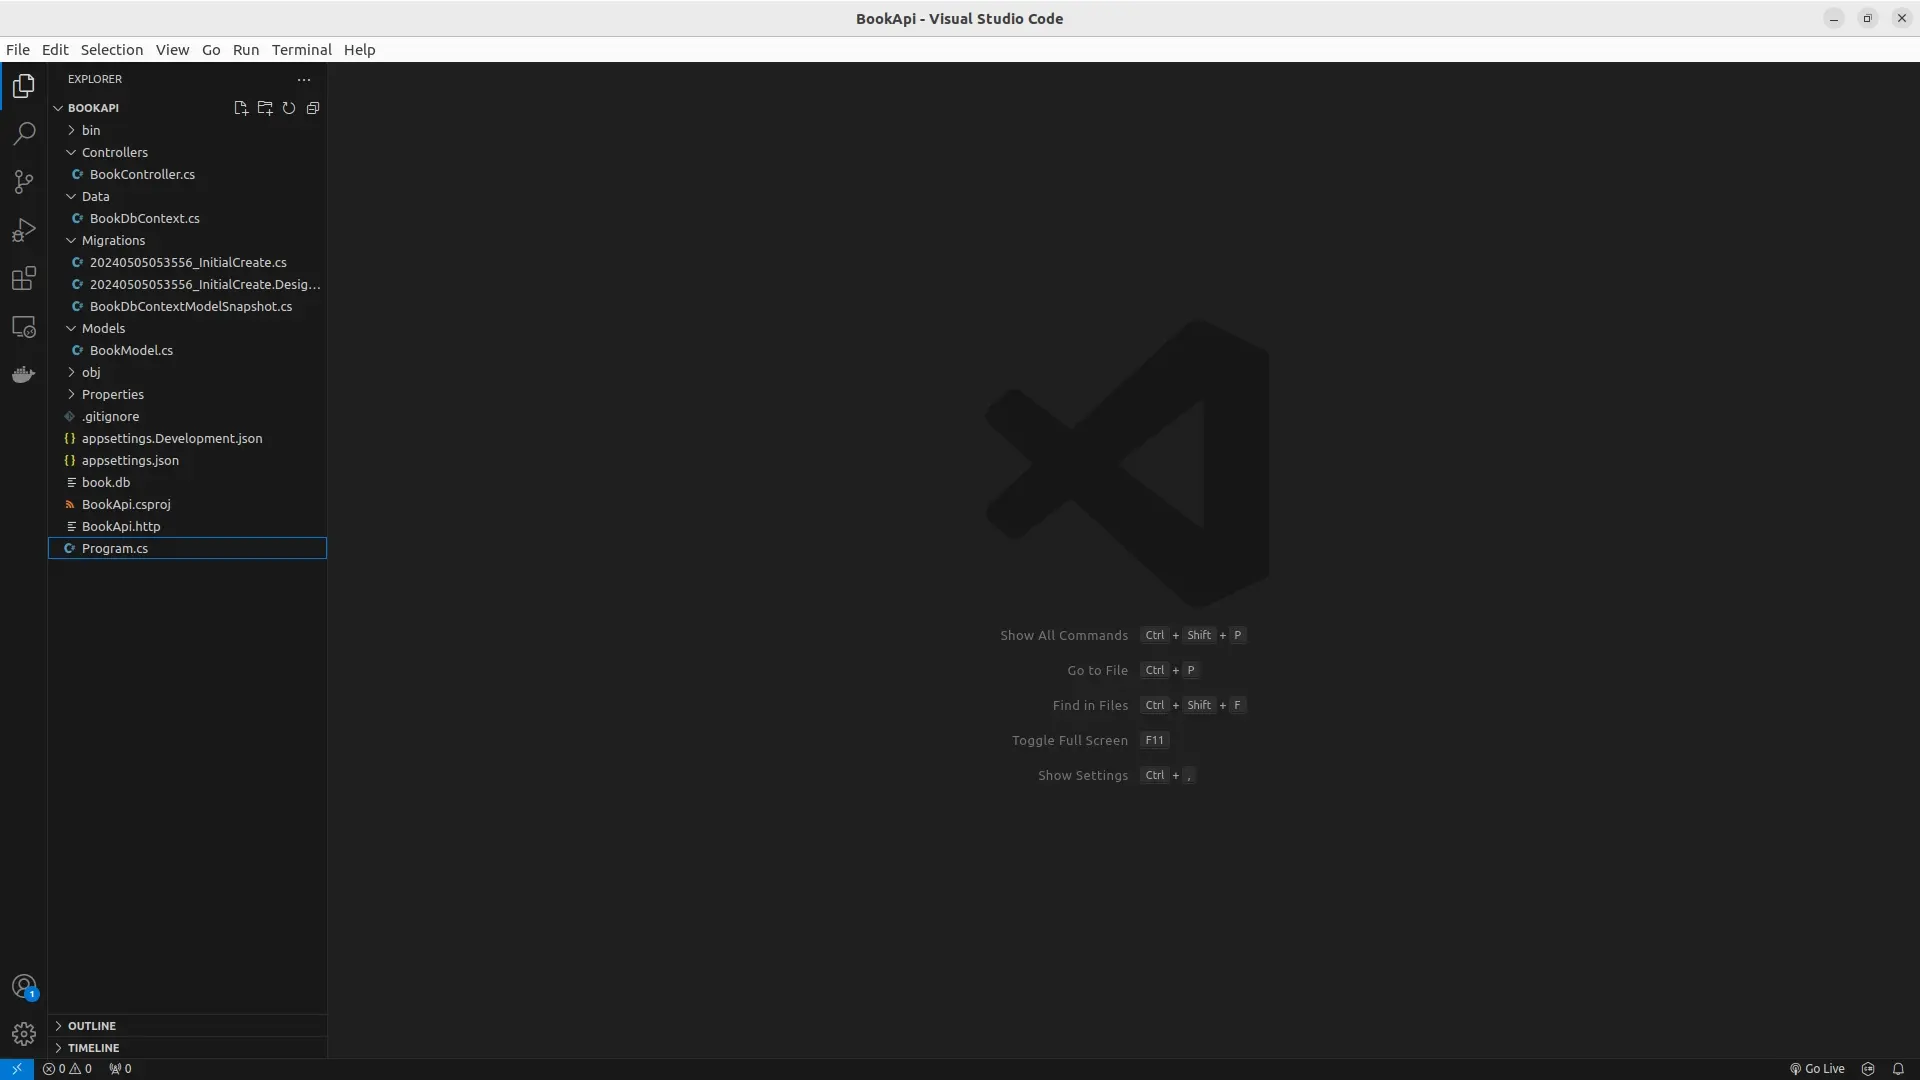
Visual Studio Code provides a strong yet user-friendly environment for developing a scalable and reliable C# and ASP.NET Core API. We'll walk you through the process of configuring your development environment in this guide.
Prerequisite
Download and install Visual Studio Community Edition for Windows

Installing the ASP.NET and web development will handle all the necessary plugins that we need like dotnet CLI etc.

Install .NET SDK for Ubuntu
Open a terminal and enter this command(s)
                                    sudo apt-get update && sudo apt-get install -y dotnet-sdk-8.0
dotnet tool install --global dotnet-ef
Install packages(s)
Open a terminal and enter this command(s)
                                    dotnet add package Microsoft.EntityFrameworkCore.Sqlite
dotnet add package Microsoft.EntityFrameworkCore.Tools
dotnet add package Microsoft.EntityFrameworkCore.Design
appsettings.json
                                    {
    "Logging": {
        "LogLevel": {
            "Default": "Information",
            "Microsoft.AspNetCore": "Warning"
        }
    ],
    "AllowedHosts": "*",
        "ConnectionStrings": {
            "SQLite": "Data Source=book.db"
        }
}
Create a DbContext under Data/BookDbContext.cs
                                    using Microsoft.EntityFrameworkCore;
using BookApi.Models;

namespace BookApi.Data
{
    public class BookDbContext : DbContext
    {
        public BookDbContext(DbContextOptions<BookDbContext> options) : base(options) { }

        public DbSet<BookModel> Books { get; set; }
    }
}
Create a Model under Models/BookModel.cs
                                    namespace BookApi.Models
{
    public class BookModel
    {
        public int Id { get; set; }
        public required string Title { get; set; }
        public required string Author { get; set; }
        public required string Genre { get; set; }
    }
}
Create a Controller under Controllers/BookController.cs
                                    using Microsoft.AspNetCore.Mvc;
using Microsoft.EntityFrameworkCore;
using BookApi.Data;
using BookApi.Models;

namespace BookApi.Controllers
{
    [Route("api/[controller]")]
    [ApiController]
    public class BookController : ControllerBase
    {
        private readonly BookDbContext _context;

        public BookController(BookDbContext context)
        {
            _context = context;
        }

        [HttpPost]
        public async Task<IActionResult> Create(BookModel book)
        {
            await _context.Books.AddAsync(book);
            await _context.SaveChangesAsync();
            return CreatedAtAction(nameof(Get), new { id = book.Id ], book);
        }

        [HttpGet]
        public async Task<IEnumerable<BookModel>> Get()
        {
            return await _context.Books.ToListAsync();
        }

        [HttpGet("id={id}")]
        public async Task<IActionResult> Get(int id)
        {
            var book = await _context.Books.FindAsync(id);
            return book == null ? NotFound() : Ok(book);
        }

        [HttpPut]
        public async Task<IActionResult> Update(BookModel book)
        {
            _context.Entry(book).State = EntityState.Modified;
            await _context.SaveChangesAsync();
            return NoContent();
        }

        [HttpDelete("id={id}")]
        public async Task<IActionResult> Delete(int id)
        {
            var book = await _context.Books.FindAsync(id);
            if (book == null) return NotFound();

            _context.Books.Remove(book);
            await _context.SaveChangesAsync();
            return NoContent();
        }
    }
}
Program.cs
Modify your Program.cs
                                    using Microsoft.EntityFrameworkCore;
using BookApi.Data;

var builder = WebApplication.CreateBuilder(args);

// Add services to the container.
// Learn more about configuring Swagger/OpenAPI at https://aka.ms/aspnetcore/swashbuckle
builder.Services.AddEndpointsApiExplorer();
builder.Services.AddSwaggerGen();
builder.Services.AddControllers().AddJsonOptions(o => o.JsonSerializerOptions.PropertyNamingPolicy = null);
builder.Services.AddDbContext<BookDbContext>(o => o.UseSqlite(builder.Configuration.GetConnectionString("SQLite")));
builder.Services.AddCors(o =>
{
    o.AddPolicy(name: "_myAllowSpecificOrigins",
                        b =>
                        {
                            b.WithOrigins("http://localhost:5100")
                            .AllowAnyHeader()
                            .AllowAnyMethod()
                            .AllowCredentials();
                        });
});

var app = builder.Build();

// Configure the HTTP request pipeline.
if (app.Environment.IsDevelopment())
{
    app.UseSwagger();
    app.UseSwaggerUI();
}

app.UseCors("_myAllowSpecificOrigins");
app.UseHttpsRedirection();
app.UseAuthorization();
app.MapControllers();
app.Run();
SqlServer
If you wish to use SqlServer as your database otherwise skip this part
                                    # Install the package
Install-Package Microsoft.EntityFrameworkCore.SqlServer

# In your Program.cs add this line
builder.Services.AddDbContext<BookDbContext>(o => o.UseSqlServer(builder.Configuration.GetConnectionString("SqlServer")));

# In your appsettings.json add this line
"ConnectionStrings": {
    "SqlServer": "Server=192.168.1.10,1433;Database=book;User Id=sa;Password=YourNewStrong@Passw0rd;Integrated Security=false;TrustServerCertificate=true"
}
PostgreSQL
Make sure you use the correct PostgreSQL credentials, database and IP address.
                                    # Install the package
Install-Package Aspire.Npgsql.EntityFrameworkCore.PostgreSQL

# In your Program.cs add this line
builder.Services.AddDbContext<BookDbContext>(o => o.UseNpgsql(builder.Configuration.GetConnectionString("PostgreSQL")));

# In your appsettings.json add this line
"ConnectionStrings": {
    "PostgreSQL": "Host=192.168.1.10;Username=username;Password=password;Database=book"
}
Create the database part 1
Open a terminal and enter this command
dotnet ef migrations add InitialCreate
Run the application
dotnet run

